· By Carlee Workman
How to Remove Lash Extensions (For Lash Artists)
All good things must come to an end.
While lash extensions look incredible, they may irritate some clients if applied incorrectly. In these instances, the best solution is to remove the lashes and apply a fresh set.
Lash artists remove extensions for a number of reasons. A client may need a previous set removed before getting them redone, or perhaps they want to take a break from them. In rare cases, you may also have to remove a set if the client is having an allergic reaction.
As an artist, learning how to safely and effectively remove the lashes is just as important as the application process. For these services, it’s vital to have the right tools and information going into them.
But first…
If you are a lash enthusiast looking to remove eyelash extensions at home, please do not attempt this! Always go to a certified professional for all your lash services. If done improperly, you can risk your lash health and cause damage to your eyes and natural lashes. To put it simply, it is not safe to remove eyelash extensions at home.
It may be tempting to save yourself a trip to the salon by watching online tutorials – but please resist the urge! These tutorials can be ineffective, misleading, and at worst, dangerous. Don’t risk your health and always go see a professional. When done by a certified lash artist, it is a safe and easy process.
With that being said, the following information is for professional use only:
What are the different types of eyelash extension remover?
There are two primary types of eyelash extension remover: gel and cream. Both types dissolve the glue that bonds the extensions making it easy to slip them off the natural lash. Ultimately, it comes down to your preference for which you choose to use during your services. Typically, cream removers are easier to control since they aren’t as fluid as the gels. On the other hand, gel removers have a thinner texture and can be more precise when removing only a few lashes at a time.
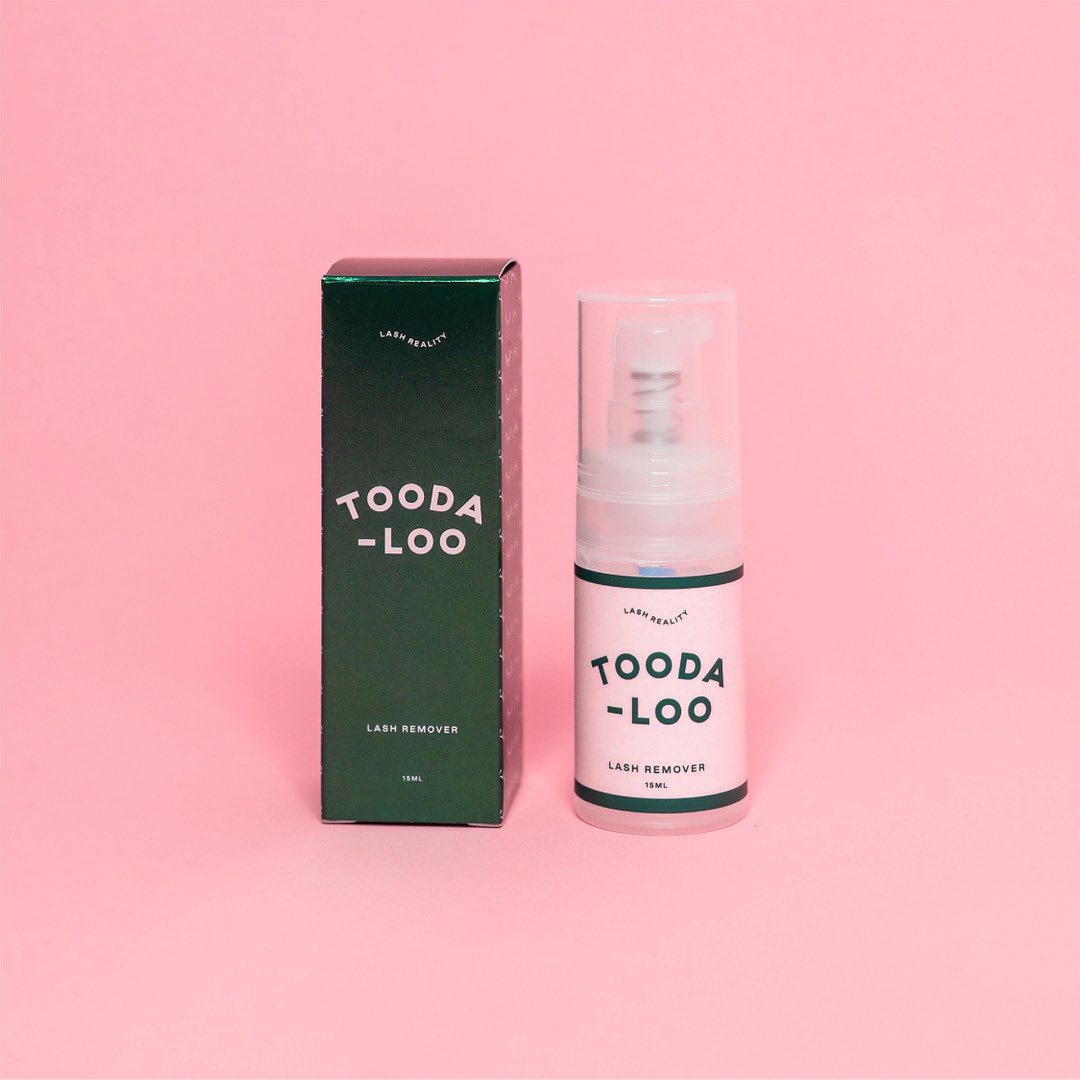
Lash Reality offers both types of removers so you can tackle any removal service with ease. As always, our products are cruelty-free, toxin-free, and hypoallergenic. My preferred method is using our Toodaloo Gel Remover. It is non-irritating, doesn’t affect the natural lashes, smells great, and comes in a pump bottle which is amazing for lash safety and sanitation. If you prefer cream over gel, we also offer the Toodaloo Cream Remover, which is odorless and dissolves even the strongest adhesives.
How long do eyelash removals take?
On average, removals can take between 20 and 45 minutes, depending on the lashes. This is a painless process and there should be no discomfort!
What tools do I need to remove eyelash extensions?
To apply either of our removers, you must first cover the lower eyelid. This step is done the same way as a fill or full set, using tape and eye pads. Once this is done, apply your remover of choice generously, without touching the skin. (Tip: Put your client on an incline so gel or cream doesn’t get in their eyes!)
After applying the remover, wait two to three minutes for the adhesive to completely dissolve. For strong adhesives, you may want to wait closer to three minutes.
Once the remover has had time to work, take your favorite pair of lash tweezers and peel off the extensions! They should slip away like butter if you’re using the correct products. Lastly, use a rinse bottle and warm washcloth to gently wash away the solution. If going in with a full set after, be sure to wash and dry the lashes completely before applying a new set.
There you have it! Easy as can be – if you have the right information and tools. If you're still missing out on the tools part, check out our collection of eyelash extension supplies. For all additional questions, please contact us. We'd also love for you to follow us on Facebook and Instagram to stay up-to-date on the latest Lash Reality news and products!
